


Best Foam Roller Exercises for Back
Updated: Aug 25
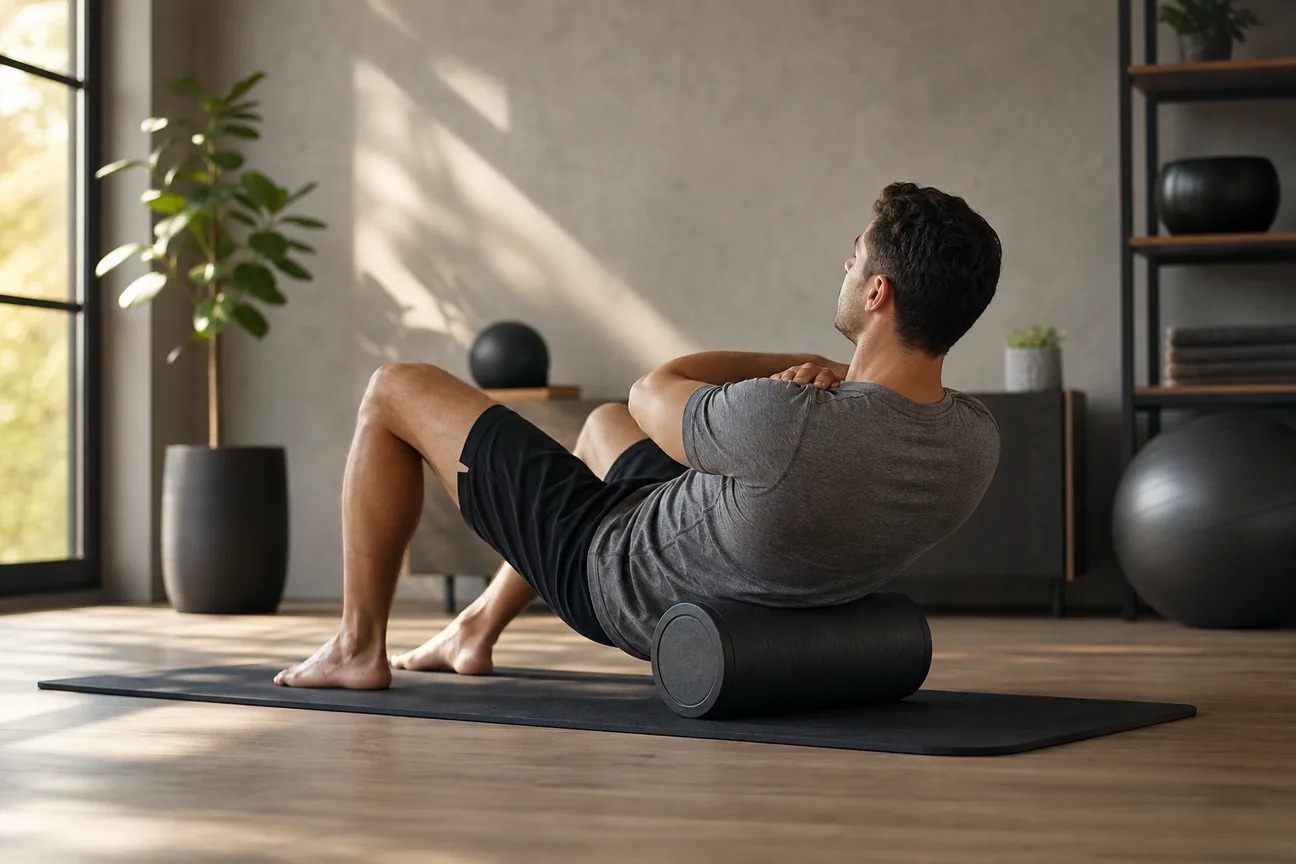
Stiffness in your upper back can make everyday tasks feel heavy. Here are eight foam‑roller moves that target the thoracic and upper‑back areas, plus a quick way to compare them.
Table of Contents
1. Thoracic Spine Roll — Build Gentle Mid‑Back Mobility
This roll lies the foam roller under your mid‑back and lets you gently extend the thoracic spine. It works well for anyone who spends long hours at a desk or lifts weights overhead.
The thoracic spine supports the rib cage, neck, and shoulder blades. Place the roller across your mid-back, keep your hips on the floor, and gently extend your upper back while maintaining control.
The Thoracic Spine Roll can be performed for 60 seconds. Roll slowly, breathe steadily, and avoid excessive pressure or sharp pain.Key Takeaway:Move gently and stay in control throughout the thoracic spine roll.
Watch a quick demo of the technique below.
Do not roll directly on the lower back. Avoid rolling too fast or holding your breath.
2. Thoracic Extensions for 8 Reps — Ease Rounded‑Shoulder Stiffness
This extension sequence uses a foam roller to open the chest and pull the shoulders back gently.
Prolonged desk work can tighten the upper back and shoulders. By lying on the roller, lifting the hips slightly, and extending the upper spine eight times, you counteract the forward‑rounding that builds from long hours at a computer.
It’s best for people who notice tightness when reaching overhead or feel their shoulders creeping forward during daily tasks. The motion is slow and controlled; each rep should feel like a soft push, not a forced arch.
A common pitfall is moving too quickly, which can stress the joints. Keep the breath steady and stop if you hear any sharp clicks.
3. Seated Mid‑Back Release — A Lower‑Pressure Option
For those who find lying down uncomfortable, this seated roll offers a gentler alternative.
Healthline explains that foam rolling can improve mobility and reduce soreness when done correctly. Sit on the floor, place the roller behind your mid‑back, hug your arms across your chest, and lean back until you feel a light pressure. Hold for 30 seconds, then release.
The seated position keeps the lumbar spine out of the equation, so the focus stays on the mid‑back muscles that often tighten from prolonged sitting.
Because the pressure is lighter, beginners can try this exercise multiple times a day without over‑loading the spine.
Pro tip: Keep your ribs down and avoid letting the roller roll onto the lower back.
4. Upper Back Roll — Target Trapezius Tension
This roll lies the foam roller across the upper‑back at trap level and moves the hips to roll the muscles up and down.
Lift the hips off the floor, cross your arms over your chest, and walk your feet forward and back. The motion releases tension in the trapezius and surrounding upper‑back muscles that build from desk work, driving, or heavy lifting.
For general background on foam rollers, see the Wikipedia entry on foam rollers .
For general information about lower‑back pain, see this fact sheet .
Do not let the roller press into the neck; keep the head supported by your hands to avoid strain.
5. Kneeling Upper Back Rotation — Add Thoracic Rotation
This move adds a rotational element that most static rolls miss.
Kneel with one forearm on the foam roller at chest level, the other hand behind the head, and rotate the trunk so the elbow lifts toward the ceiling. Switch sides after eight to twelve reps.
It’s ideal for athletes who need thoracic rotation for overhead sports or anyone whose daily routine involves turning the torso.
The rotation improves spinal flexibility while still giving a release to the upper‑back muscles.
Watch out for neck strain; keep the chin tucked and move only as far as comfort allows.
Foam Roller Exercises for Back: At‑a‑Glance Comparison
Exercise | Target Area | Main Benefit | Caution |
Thoracic Spine Roll | Thoracic spine | Improves mid‑back mobility | Avoid lumbar pressure |
Thoracic Extensions | Thoracic spine | Eases rounded‑shoulder stiffness | Move slowly, no sharp pain |
Seated Mid‑Back Release | Mid‑back muscles | Reduces stiffness with low pressure | Do not roll below rib cage |
Upper Back Roll | Trapezius | Releases upper‑back tension | Protect neck, keep head supported |
Kneeling Upper Back Rotation | Thoracic rotation | Adds rotational mobility | Avoid neck strain, keep chin tucked |
FAQ
What’s the safest way to start foam rolling my back?
The safest start is to lie on a foam roller, keep the pressure light, and begin with short 30‑second intervals on the upper or mid‑back.
Can foam rolling replace chiropractic care?
Foam rolling can complement chiropractic treatment, but it does not replace a professional assessment and manual adjustment when needed.
How often should I do these exercises?
Most experts suggest 3‑4 sessions per week, spacing them out to allow the muscles to recover between rolls.
Is there a risk of injury?
Injury risk is low if you avoid rolling directly on the lumbar spine, keep movements slow, and stop at any sharp pain.
Do I need a special foam roller?
A standard foam roller works for all the moves listed; you don’t need a premium or textured model.
Conclusion
Pick the move that matches your current comfort level and try it consistently for two weeks. If you’d like a deeper look at how chiropractic care can support your back‑health journey, explore What is Chiropractic, Ascot Vale, Released Health Chiropractor for more details.
Editorial and Safety Notes
All the exercises described follow current Australian health guidelines and are meant for people without acute injury. If you experience sudden sharp pain, numbness, or weakness, stop immediately and seek professional help. For personalized advice, consider the resources at Back Pain, Ascot Vale Chiropractor, Released Health Chiropractic .
Ready to put this into practice? Unleashed Health Chiropractic was built for exactly this.


Comments